Last Updated on January 3, 2026 by Jawad
Whether you’re shopping for a gaming mouse, trying to dial in perfect aim in an FPS, or configuring a workstation for precision design work, you’ll inevitably see numbers like “800 DPI,” “12,000 DPI,” or “1,600 CPI.” Those numbers matter — but only if you understand what they actually measure and how they affect pointer behavior. In the world of mice, the terms DPI and CPI are often used like synonyms, and that’s caused a lot of confusion. This article cuts through the fog and explains, in plain language and with practical advice, what DPI and CPI mean for mice, how they differ technically, how they interact with other factors (polling rate, acceleration, firmware), and how to choose and tune settings that actually improve your experience.
The short answer up front
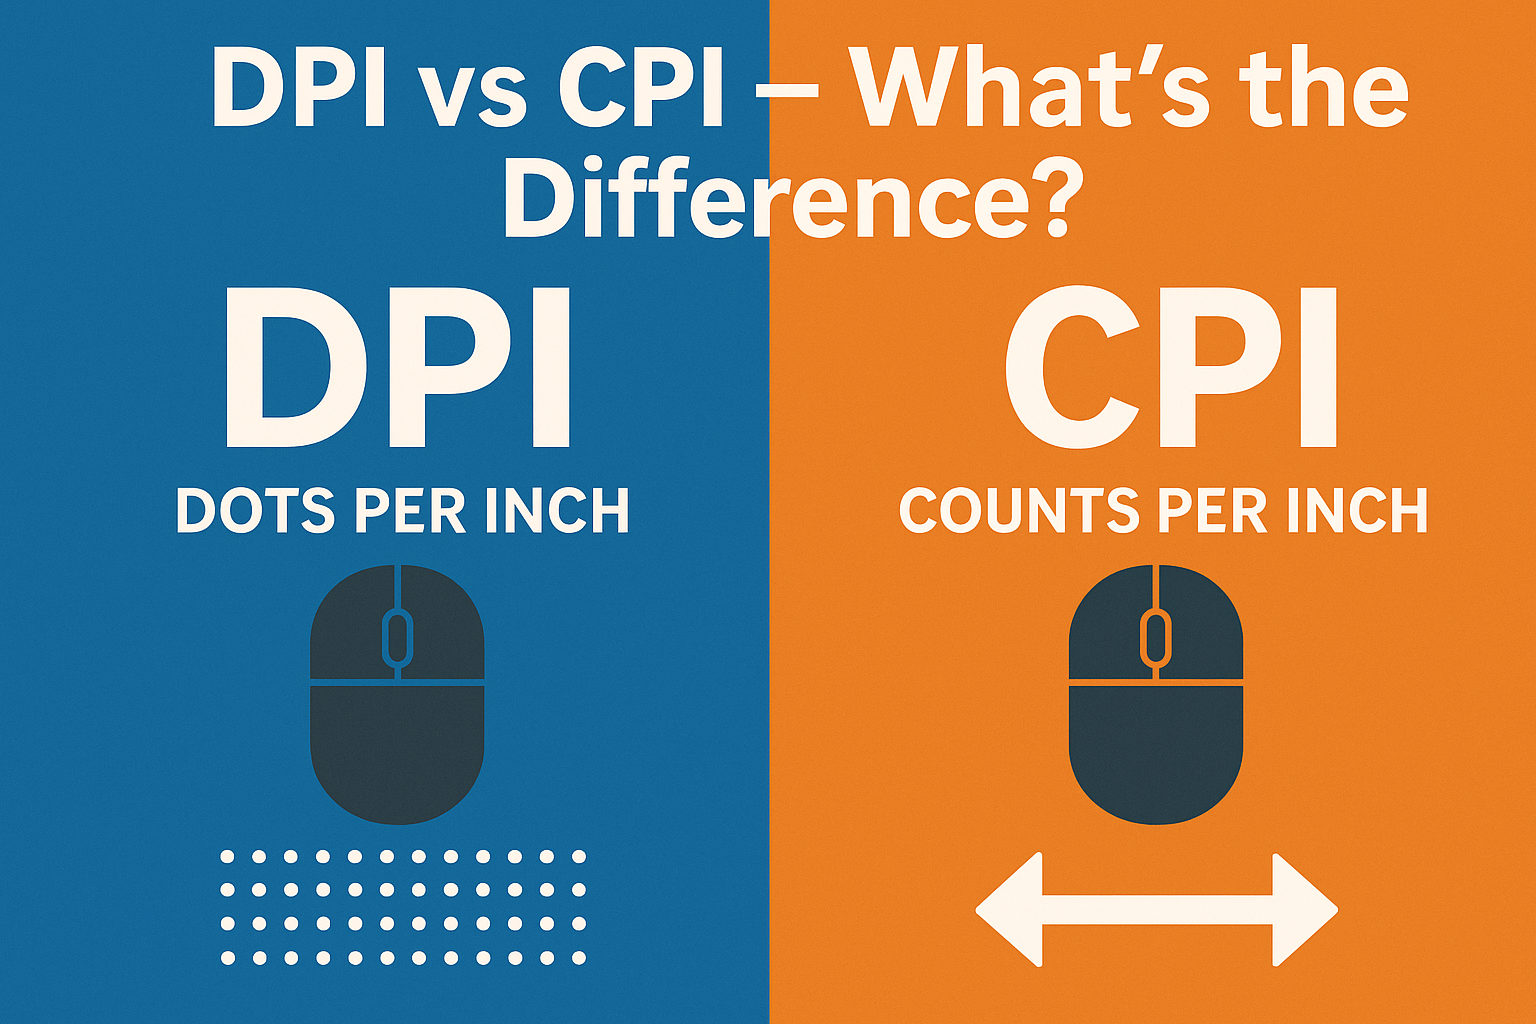
- CPI (counts per inch) is the accurate technical term for how a mouse sensor reports movement. It tells you how many discrete “counts” the sensor reports to the mouse’s controller when you move the mouse one physical inch.
- DPI (dots per inch) is a legacy term from printing and imaging. In mouse marketing, DPI has been adopted as a convenient shorthand for the same concept — but strictly speaking, CPI is the correct name for sensor resolution.
- Practically: when comparing mice, treat CPI/DPI numbers as a measure of sensor granularity, but don’t be fooled by very high headline numbers. Real tracking performance depends on sensor quality, firmware, polling rate, and handling, not the number on the box alone.
Why two names? A tiny history
DPI comes from printing and imaging: how many dots of ink a printer lays down in an inch. CPI grew out of electronics: how many incremental position counts a sensor produces per inch of movement. Optical and laser mouse sensors output counts — so CPI is the pure technical descriptor. Marketing, however, liked the familiarity of “DPI” and used it when selling mice. Over time, most users and many manufacturers adopted DPI for mouse sensitivity. The result: people use the terms interchangeably, but if you want precision, use CPI for mice.
What CPI actually measures (and why it matters)
Imagine moving a mouse across a surface for exactly one inch. If the sensor reports 800 counts during that move, it’s 800 CPI. Each count corresponds to the sensor detecting a slight change in position; more counts per inch means the sensor is sampling movement more granularly.
Why does granularity matter?
- Finer granularity = more precise raw input. With more counts per inch you can theoretically move the on-screen cursor in smaller increments for the same physical movement.
- It affects how sensitivity is tuned. Lower CPI combined with software sensitivity adjustments gives you fine control; higher CPI expands range but can amplify tiny hand tremors or sensor noise if the sensor/firmware aren’t good.
But remember: CPI is one part of what determines how the cursor behaves. Don’t assume higher CPI always equals better precision.
DPI in mouse marketing — harmless shorthand or misleading?
When a box says “20,000 DPI,” what’s actually happening:
- The manufacturer likely means the sensor/firmware can be set to report 20,000 counts per inch (i.e., 20,000 CPI).
- That’s technically the same measurement, but using DPI borrows credibility from the imaging world and sounds impressive.
- In practice, very high numbers are often unnecessary, and some sensors perform worse at their extreme settings (introducing jitter or inaccuracy).
So treat giant DPI claims with skepticism. Look for independent reviews or sensor model numbers which reveal the true performance.
Important related concepts (they matter as much as CPI)
- Polling rate (Hz): How many times per second the mouse reports its position to the PC (e.g., 125 Hz, 500 Hz, 1,000 Hz). Higher polling rates reduce latency and help make high-CPI settings usable — but they also slightly increase CPU usage. For gaming, 500–1,000 Hz is common.
- Sensor type (optical vs laser):
- Optical sensors (modern ones are CMOS) use a tiny camera and are generally favored for consistent tracking on many surfaces.
- Laser sensors can track on more surfaces but historically had issues with prediction/acceleration on certain surfaces. Modern laser sensors have improved, but “optical sensor” is often a safer bet for clean tracking.
- Acceleration: When the cursor moves more/less than expected relative to physical mouse movement because the driver/firmware adds or subtracts counts depending on speed. Most competitive players disable acceleration for predictability.
- Interpolation / scaling: Some mice or drivers use interpolation (adding synthesized counts) to reach high CPI values from a lower native sensor CPI. Interpolation can introduce inaccuracy; “native CPI” (the actual sensor counts without scaling) is preferable.
- Jitter / noise: Poor sensors or settings can produce unstable counts, seen as small involuntary cursor movements. High CPI can amplify these tiny errors.
- Lift-off distance (LOD): How far you can lift the mouse before it stops tracking. For gamers who lift-and-reposition frequently, a low and consistent LOD is desirable.
- Surface and mousepad: Sensor performance changes with surface texture and color. Dedicated cloth or gaming mousepads are recommended for consistent tracking.
Native CPI vs interpolated CPI — why this matters
- Native CPI: The sensor’s inherent resolution (e.g., 400, 800, 1,200, 2,000 CPI). Many sensors have a set of native counts and perform best at those points.
- Interpolated CPI: Some mice claim intermediate or very high CPI by software/firmware multiplying the sensor output. That can work, but it often reduces fidelity and can introduce subtle inaccuracies.
If you’re after clean, predictable tracking (especially for competitive gaming), look for mice that advertise the sensor’s native CPI and avoid relying on enormous interpolated numbers.
How CPI interacts with OS and in-game sensitivity
CPI is the hardware’s raw count. The cursor movement you see is the result of:
- Sensor counts (CPI).
- Mouse firmware and driver scaling.
- OS pointer speed settings.
- In-game sensitivity (if gaming).
Think of CPI as the resolution of the raw input; software multiplies or stretches that input to produce cursor motion. A well-known practice for precision is to keep CPI at a comfortable native value and tweak sensitivity in the game or OS, because software changes are often smoother and easier to revert.
Practical guidance: picking CPI for different uses
- General desktop / productivity: 800–1,600 CPI is common. It offers a good mix of speed and precision for browsing, office work, and multitasking.
- Photo/graphic editing: Lower CPI (400–1,200) paired with precise software settings can help fine cursor placement.
- Arrow-key style gamers / turn-and-aim FPS players: Many pro FPS players use 400–1,600 CPI, often on the lower side, combined with low in-game sensitivity to allow fine aim adjustments.
- High-DPI use cases (multi-monitor, 4K+): Higher CPI can help if you frequently need to traverse very large screen real estate without lifting the mouse, but consider using a larger mousepad too.
The key takeaway: start in a comfortable range (800–1,600), then tweak up or down in small steps while testing in real tasks or games.
Tuning process — a simple workflow
- Set a baseline: Pick a CPI in the mid-range of your mouse’s native options (e.g., 800 or 1,600).
- Disable acceleration: Turn off mouse acceleration in the OS and in-game settings for consistency.
- Set polling to 500–1,000 Hz if available.
- Adjust in-game/OS sensitivity until the cursor or crosshair covers a comfortable distance with a controlled wrist/flick.
- Test with aim trainers or drawing tasks to see whether the settings feel accurate and repeatable.
- If you need more reach, slowly raise CPI; if you need more precision, slowly lower it.
- Check for jitter: if you see micro-movements or instability, lower CPI or try a different surface.
Troubleshooting common issues
- Cursor feels jittery at high CPI: Lower CPI or check for interpolation. Try a different mousepad and confirm native CPI usage.
- Cursor jumps after lift-and-reposition: This can be LOD related. Check mouse specs for lift-off distance, and adjust lift height technique or change surface.
- Sensitivity differs between apps: Remember OS pointer acceleration or app-specific settings can override. Standardize settings and disable acceleration globally if you need consistency.
- Cursor too slow on big monitor: Increase CPI modestly or raise in-game/OS sensitivity — but prefer CPI increases only if sensor is high quality.
Myths busted
- “Higher CPI equals better accuracy.” Not automatically. Accuracy depends on sensor quality and firmware. A good sensor at 1,600 CPI can be cleaner than a cheap sensor at 10,000 CPI.
- “DPI is totally unrelated to CPI.” In the context of mice, most manufacturers use DPI to label what is technically CPI — so the numbers often line up, just with naming error. The important thing is understanding what the number does, not the label.
- “Set the mouse to its maximum CPI for best results.” That often makes tiny involuntary movements more visible and can amplify noise. Use what feels controllable.
Advanced considerations for competitors and enthusiasts
- Sensor specifics matter: Look up the exact sensor model (e.g., PixArt series) and read independent tests that measure native CPI, accuracy, jitter, and other behaviors.
- Firmware updates can change behavior: Manufacturers sometimes release firmware improvements that change tracking or add features. Keep firmware up to date and read changelogs if you rely on a mouse for competition.
- Surface tuning features: Some mice have surface calibration routines that optimize sensor behavior for a specific mousepad — use them if available.
- Angle snapping: Some drivers provide “angle snapping,” which smooths movement into straight lines (useful for drawing straight lines but harmful for precise aiming). Disable it for gaming.
FAQs
Q: Should I care whether a mouse spec says DPI or CPI?
A: No — care about what the number represents (counts per inch) and, more importantly, about real-world sensor performance. CPI is the accurate term for mouse sensors.
Q: My mouse offers 20,000 DPI — is that useful?
A: Rarely. Unless you have a very specific workflow or enormous screen setup, such high numbers are mostly marketing. What matters is whether the sensor tracks accurately at your chosen setting.
Q: Is a higher polling rate always better?
A: Higher polling rate reduces latency but increases CPU usage slightly. For gaming, 500–1,000 Hz is common. Some users won’t notice differences above 500 Hz, but competitive players often prefer 1,000 Hz.
Q: Can software change CPI?
A: Software (driver/firmware) can scale sensor counts to present different CPI values. That’s how on-the-fly DPI switching and software sliders work. Native CPI is the one directly reported by the sensor without scaling.
Final takeaways
- In the mouse world, CPI is the precise technical term — it measures how many counts the sensor reports per inch. DPI is the legacy/marketing term often used interchangeably.
- Don’t chase headline DPI/CPI numbers. Focus on sensor quality, native CPI, polling rate, firmware, and surface compatibility.
- Start with a sensible CPI (800–1,600), disable acceleration, and tune software sensitivity until movement is predictable and comfortable.
- If you care about competitive accuracy, seek independent sensor tests that show how a mouse performs at various native CPIs and polling rates rather than trusting marketing claims.
Understanding the difference between DPI and CPI (and why CPI is the better term) will make you a savvier shopper and help you tune your setup for repeatable, comfortable pointer control. Whether you’re lining up a headshot in a game or placing a pixel-perfect selection in Photoshop, the right combination of sensor settings, surface, and software will be the real game-changer — not just the biggest number on the box.

Jawad is a passionate tech enthusiast and writer who loves exploring the latest trends in hardware, gadgets, and digital innovation. With a sharp eye for performance and value, he delivers in-depth recommendations and buying guides to help readers make smarter tech decisions.